Connect & record
Record audio or MIDI
Arm deliberately, record a take and check the result.
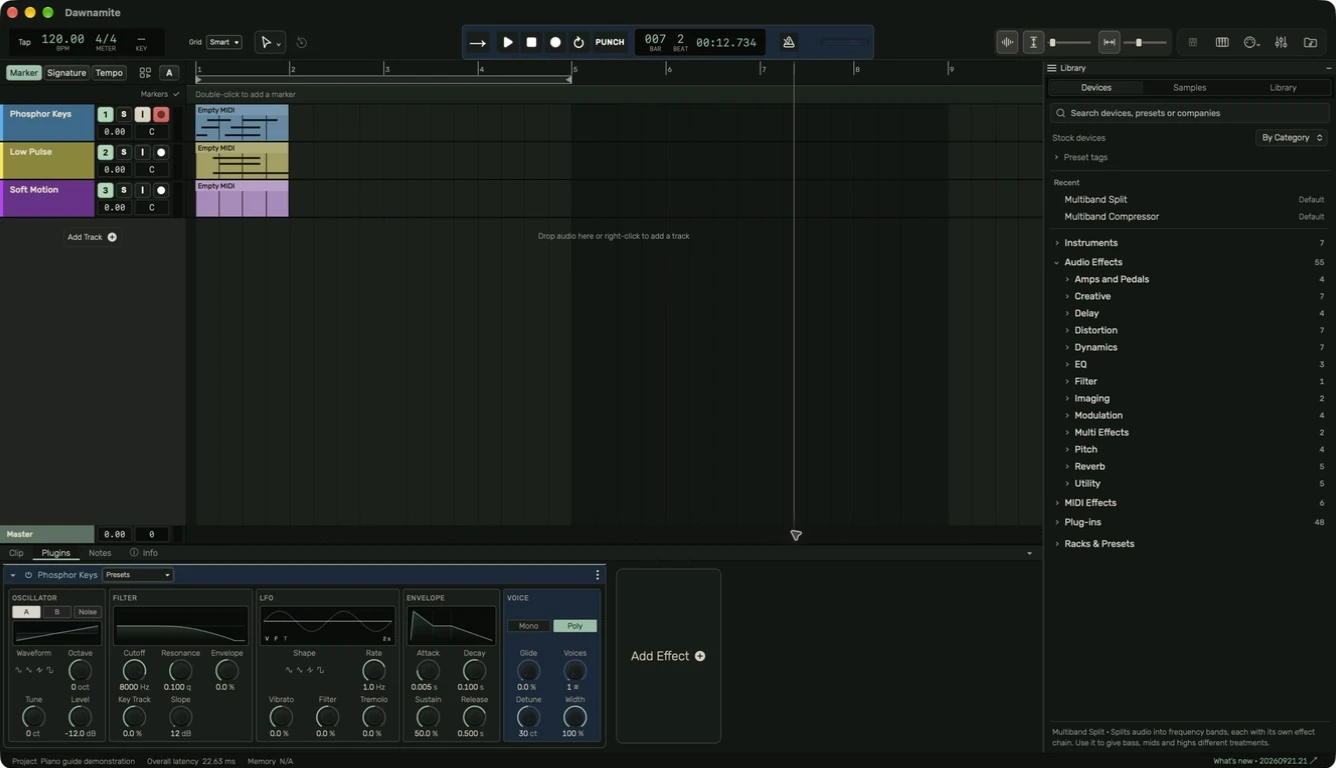
Before Record
Select the appropriate track type and input. Check each track's record-arm button, including other tracks in the project. Choosing an input can arm a track. Check the monitoring path and watch the meter. For MIDI, verify that an instrument is loaded and producing sound.
Record a first pass
- Place the edit cursor at the intended start.
- Choose a tempo and turn the metronome on if needed.
- Set Count-in bars in Preferences → Audio → Recording.
- Review Loop and Punch. Leave them off for a simple first pass.
- Press Record in the header and perform.
- Press Record again to end recording, or Stop to stop the transport.
- Wait for the take to finish saving, then play it back and save the project.
A visible recording region is not confirmation that its data has finished saving. If a save or recording problem is reported, keep the project open and follow the recovery message.
Loop and punch
Loop repeats the marked interval. Punch limits the recording interval while allowing playback around it. Check the ruler boundaries before starting. Loop boundaries extend down the arrangement when Loop is active. Try a short test pass before recording a long performance.
Multiple passes
Enable Take folders in Preferences → Audio → Recording to retain overlapping performances as alternatives. Non-overlapping recordings remain separate. See Takes and comping for selecting the best passages.
Recording commands
The command list includes normal recording, recording without count-in and restart recording. Restart recording explicitly deletes the current recordings and starts over; it is not the command for keeping one take and adding another. Use a normal stop, save and new pass when you want to retain a performance.
Guide for the macOS development build. For changes between versions, see update history. Public installers and final system requirements are not available yet.