Connect & record
MIDI controllers & keyboard
Get notes from a controller into an instrument.
MIDI is not audio
MIDI carries note, velocity and control information. A MIDI keyboard needs a software instrument or an external sound source to produce audio. Hearing a controller's built-in speakers does not prove Dawnamite is receiving its notes.
Connect a controller
- Connect a USB controller directly or through your interface's MIDI ports. Follow its driver requirements.
- Add a MIDI track and load an instrument from Library, or use MIDI Keyboard → Add Piano for the bundled development piano.
- Right-click the track header and choose Capture MIDI. Select the device and the channel filter you need.
- Set monitoring with the I control. Auto follows arm, In monitors without arm, and Off lets an armed track record without monitoring its instrument.
- Arm the intended track and play a few notes. Check the track's activity and instrument output.
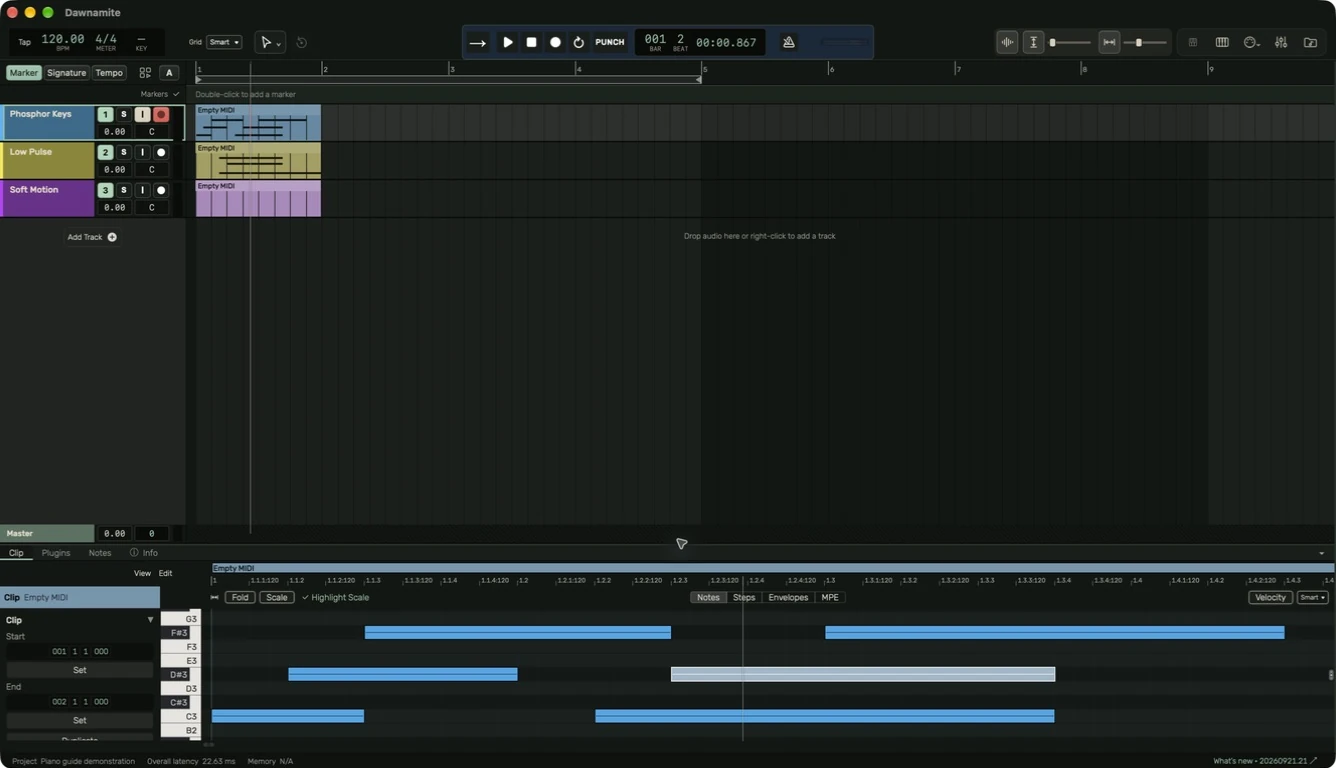
- Start Record, play a phrase, stop and inspect its MIDI region in Clip.
An explicitly selected missing device stays disconnected until it returns or you select another. On web-based diagnostic builds, browser MIDI access is a separate permission; the macOS app uses its native device path.
Use the software keyboard
Open MIDI Keyboard from the header. Choose the destination track. The displayed computer keys play notes; octave and velocity controls change the range and strength. A–L are the white-key row, with the displayed upper-row keys for sharps and flats. Release the key to send note-off. Computer-keyboard note entry has its own context, so ordinary arrangement numbers should not interrupt it.
External MIDI output
Use MIDI Output in the header to choose an external destination and channel. MIDI output sends note/control data; it does not bring an external synthesizer's sound back into the app. Connect that synthesizer's audio outputs to an audio input and use an audio track to monitor or record the sound.
Piano view
Open Piano from its header button beside MIDI Keyboard to follow MIDI notes against a keyboard during playback. Open its menu for the compact settings overlay. Its keyboard range, time scale, note width, transpose display and note-label controls affect that view. Choose which MIDI tracks are included. Use Clip, rather than Piano, to edit the region's notes.
Recover a phrase with Capture MIDI
The circular-arrow Capture MIDI button beside the Arrangement tool selector keeps recently played notes as a MIDI region, even when you did not press Record. Arm a MIDI track, play a phrase using the software MIDI keyboard or a connected controller, then click Capture MIDI. The button lights when notes are available. It returns to Arrangement and selects the Captured region. While stopped, the new region starts at the playhead; a phrase played during playback keeps its performance timing. Command+Z undoes the new region.
With no notes to recover, clicking the button explains how to prepare a capture. Drawing notes in Clip is ordinary editing and does not fill this buffer. Stop recording before using Capture MIDI. If multiple tracks are armed, capture uses the focused track when it has notes, otherwise another armed track with captured notes. Changing arm or starting a new playback pass can reset the buffer; keep a phrase before changing the recording setup.
Guide for the macOS development build. For changes between versions, see update history. Public installers and final system requirements are not available yet.